
I’ll start by saying I’m a huge fan of the oil cleansing method based on the theory behind it and the results I’ve gotten! I’ve studied it and experimented with it extensively over the last few years. Being an adult with annoying problematic skin can lead a person to trying extreme things—I’m sure some of you can relate! I’ve tried all sorts of facials, at home and in spas. I’ve used both chemicals and natural substances, home remedies, essential oils, and nutrition, to help make my skin prettier.
I won’t go into the nutrition here, but you can check out more about that here and here–it has been extremely important in my overall skin health and appearance.
In this post, I just want to tell you how I finally got myself to be consistent with the oil cleansing method.
I cheated.
I love the theory behind the method, and on days when I had the motivation, the time, and the energy, I did do the whole process… but on most days (ok 99.9% of days) I didn’t.
Check out this post about oil cleansing to learn about the full oil cleansing method.
Also, check out this post if you’re not sure which oil to buy for your skin type.
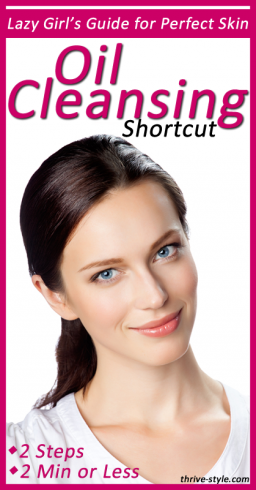
Lazy Girl’s Approach to Oil Cleansing
First, determine if your skin is oily, dry, or combination. Pick oils based on that. I use straight castor oil. My mom uses a mixture of castor oil and olive oil. If I had to use a mixture, I’d probably take a half-full bottle of castor oil, dump in some olive oil and swirl it around until it mixed. Keep it in the bathroom on the edge of the tub so you can grab it easily when you’re at the sink or in the shower (you’ll have fewer excuses not to do it!).
How to cheat at oil cleansing
Option 1:
1. Get a wash cloth wet with very warm water (not scalding). Pour a quarter-sized amount of oil onto the cloth.
2. Massage your face with the oiled cloth in a circular motion, taking 30-60 seconds for your whole face.
3. Rinse the cloth, wring it out, and gently wipe the excess oil off your face. Don’t scrub it all off—it’ll keep working to detox and moisturize your skin after you’re done!
Option 2:
1. Buy an exfoliator, like this one. Get it wet, and pour a nickel-sized amount of oil onto the brush.
2. Massage your face with the exfoliator (it has a built-in timer—all you need to do is adjust the speed to what feels best).
3. Rinse your face and wipe the excess oil off with your hands. Rinse the exfoliator brush (sometimes I wash it with body wash just to clear out the oil).
Do this at night or in the morning, whichever time you’re most likely to stick to!
When I started doing oil cleansing, I could tell it would help the quality and clarity of my skin immensely. But I just couldn’t get myself to do the whole process everyday. I experimented with several different ways of doing this, and I found this simple method with cheap (but good quality) oil works just as well for me as the in-depth process and/or expensive oil blends worked. I don’t know about you, but I’m pretty busy, and easier faster beauty methods fit me just perfectly.
I hope you try this and let me know how it goes! Keep in mind that you should adjust the type of oil you’re using if it doesn’t seem right at first… and give it a couple weeks to notice a difference!